
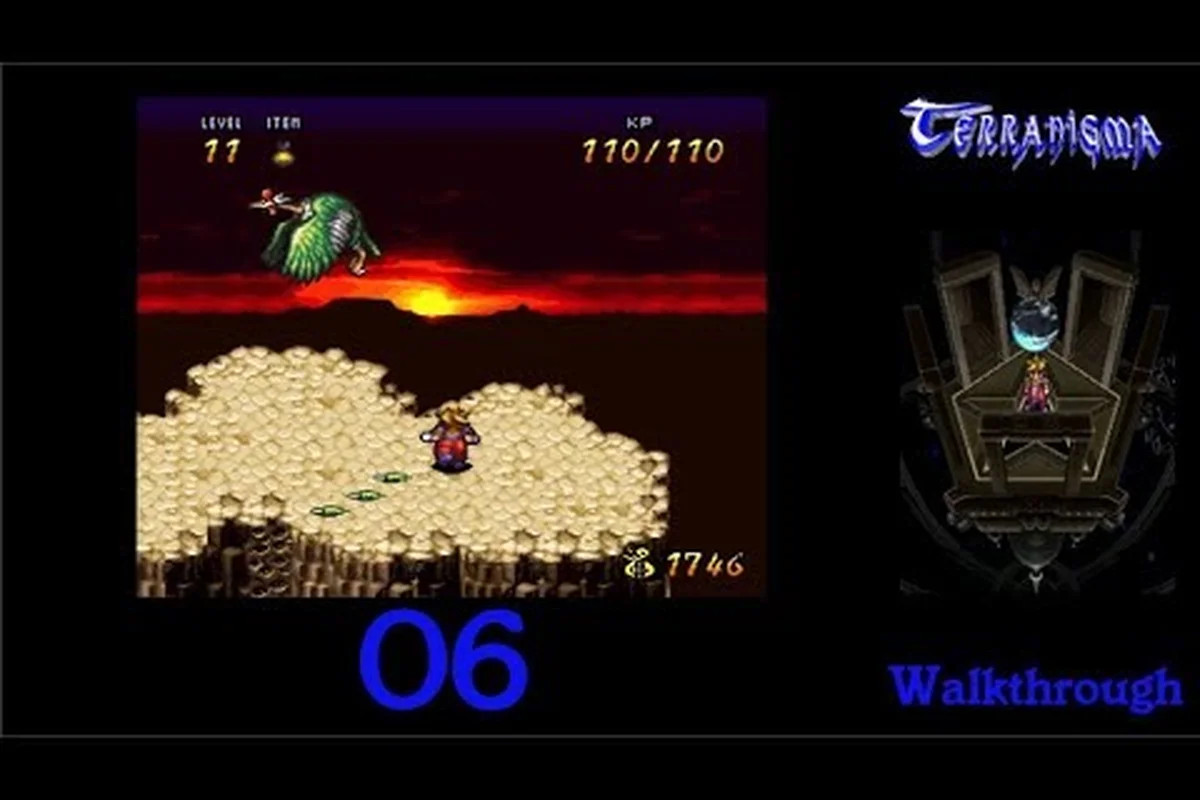
The Terranigma freedom walkthrough covers one of the game's most narratively dense sequences: Ark's capture in Grecliff, the punishing climb through Ring Tower, and the desperate crossing of the Great Lake. Players who rush this chapter often burn through healing items before the real boss fights begin, which is why a room-by-room breakdown matters more than raw level grinding here. This guide maps every mandatory encounter, hidden chest, and the exact trigger points that unlock the surface world's next phase.
Understanding the Grecliff Prison Sequence
Grecliff is not a traditional dungeon with branching paths; it is a scripted prison break that tests your patience with Magirock conservation and precise timing. The sequence begins immediately after Ark is knocked unconscious during the story transition from the Darkside to the Lightside, leaving you with no weapons, no armor, and a single healing item. The jail cell itself contains three breakable crates that respawn if you leave and re-enter the room, although the gem drops from these crates are deliberately low to prevent early farming.
The prison layout splits into three distinct wings, each guarded by a patrolling Grecliff Warden with a fixed movement pattern. These wardens cannot be killed by direct attacks while Ark is unarmed, so the early minutes revolve around memorizing patrol gaps and using the barrel shadows to break line of sight. According to community data, most first-time players lose between 15 and 25 HP per failed stealth attempt, which adds up quickly because the prison infirmary only restores 10 HP once per visit.
| Prison Wing | Guard Type | Patrol Cycle | Key Item Found |
|---|---|---|---|
| East Cell Block | Grecliff Warden | 12 seconds | Rusted Key |
| West Cell Block | Grecliff Warden | 18 seconds | Small Gem Pouch |
| Lower Storage | Hound Patrol | 8 seconds | Wooden Club |
| Infirmary Hall | No guard | N/A | Bandage |
The critical pickup is the Wooden Club, because it transforms the stealth section into a combat section once you land a back-attack on the first warden. Back-attacks deal triple damage and briefly stun the target, which gives Ark enough time to chain two additional hits before the guard recovers. The timing window is tight, but the reward is a guaranteed Iron Bracer drop that boosts defense by 4 points, making the subsequent Ring Tower climb noticeably less punishing.
Escaping the Cell Block
The escape route requires the Rusted Key from the East Cell Block, which unlocks both the stairwell door and a hidden cache behind the infirmary cot. Players who skip the West Cell Block miss the Small Gem Pouch worth 120 gems, which funds two Healing Herbs from the prison vendor before the tower sequence. The vendor appears only after you free the other prisoners, so backtracking after the first escape attempt is mandatory for full completion.
A recurring mistake is triggering the alarm bell near the guard barracks, which spawns three additional wardens and resets the patrol positions to their most aggressive state. The bell sits in plain sight at the center of the Lower Storage room, and the game deliberately places a glowing gem next to it as bait. Ignore the gem on the first pass; you can return after obtaining the club and clearing the barracks without triggering the alarm.
Ring Tower: Floor-by-Floor Combat Strategy
The terranigma ring tower walkthrough segment begins the moment Ark steps onto the spiral staircase after leaving Grecliff through the drainage tunnel. Ring Tower functions as a vertical gauntlet with seven combat floors, each introducing a new enemy type or environmental hazard, and the whole structure resets if you exit to the base camp. There is no save point inside the tower, so every healing item spent on the early floors is gone for the final ascent.
The tower's core mechanic is the ring pressure system, which gradually reduces Ark's maximum HP by 2 points for every floor completed without using a Magic Ring. This penalty stacks, meaning by floor five you are fighting with a 10 HP deficit unless you activate a ring at least once per two floors. The game never explains this system in text, but community testing confirms the penalty resets fully when you use any offensive ring, even if the ring misses its target.
| Floor | Enemy Composition | Hazard | Recommended Action |
|---|---|---|---|
| 1 | Stone Hounds | None | Back-attack for quick kill |
| 2 | Winged Sentries | Falling debris | Use Jump Attack |
| 3 | Twin Guards | Spike floor | Kite to narrow ledge |
| 4 | Magma Slimes | Fire vents | Freeze Ring required |
| 5 | Ring Wraiths | HP drain aura | Silver Ring burst |
| 6 | Golem Sentinel | Collapsing tiles | Bait overhead smash |
| 7 | Tower Warden | Ring pressure max | Save all rings |
Navigating the Mid-Tower Puzzle Floors
Floors four and five are the make-or-break point for most players because they combine elemental hazards with enemies that resist physical attacks. The Magma Slimes on floor four split into two smaller slimes when struck with the club, which forces you to either use a Freeze Ring or accept chip damage while clearing both halves. The Fire Vents along the floor's outer edge ignite every 7 seconds, and standing on a vent when it activates deals 12 damage plus a burn effect that lasts 4 seconds.
The Ring Wraiths on floor five are the most dangerous regular enemies in the tower because their HP drain aura ticks every second while you stand within melee range. The aura drains 1 HP per second, so a prolonged fight effectively doubles the damage you take. The solution is to engage with a Silver Ring from maximum range, which interrupts the aura channel and opens a 3-second window for a full combo. Players who try to club the wraiths without a ring often arrive at floor seven with less than 20 HP remaining.
Crossing the Great Lake and Reaching the Northern Continent
The terranigma great lake walkthrough section covers the boat sequence that follows Ring Tower, and it is deceptively lethal despite having no combat on the open water. The lake crossing is a timed navigation challenge where you must steer a sailboat through a series of moving whirlpools while managing a hull integrity meter that drops every time you hit debris. The hull starts at 40 points, and each whirlpool collision costs 8 points, meaning four mistakes sink the boat and force a restart from the dock.
The steering controls invert every 15 seconds during the crossing, a design choice that mirrors Ark's disorientation after the tower's ring pressure exposure. The inversion is not announced by the UI, so you must track it manually or rely on the compass stone that flickers red whenever controls are inverted. The optimal route hugs the eastern shoreline for the first half, then cuts diagonally toward the Northern Lighthouse once the second inversion kicks in, avoiding the densest whirlpool cluster.
| Navigation Phase | Hull Cost | Key Obstacle | Timing Cue |
|---|---|---|---|
| Eastern Shallows | 0-8 | Scattered debris | Stay near reeds |
| Central Crossing | 8-16 | Whirlpool trio | Wait for gap |
| Lighthouse Approach | 16-24 | Inverted controls | Compass flicker |
| Final Dock | 0 | Narrow channel | Slow to half speed |
Optional Island Detours
The lake contains two optional islands that are easy to miss if you follow the direct route, and both offer rewards that carry into the next chapter. The Western Isle holds a Summon Medal for the Flame Spirit, which deals area damage to the Asmodeus-infected enemies that appear later in the story. The Eastern Isle contains a hidden cache with three Magic Rings and a Large Gem Pouch worth 250 gems, but reaching it requires deliberately steering into a whirlpool that ejects you onto the island's hidden beach.
The whirlpool shortcut is a community-documented trick that many players dismiss as a bug because the visual effect resembles a failure state. However, the ejection trajectory always lands on the Eastern Isle if you approach the whirlpool from the south at half speed, and the game awards the ring cache without any penalty. The trick also skips the second control inversion entirely, which makes it the preferred route for speedrunners attempting the great lake crossing in under three minutes.
Post-Lake Objectives and Story Consequences
After docking at the Northern Lighthouse, the freedom chapter transitions into a story-heavy sequence that locks several earlier areas. The lighthouse keeper, a survivor of the surface revival, explains the connection between the towers and the Asmodeus virus that Beruga later unleashes, and this conversation determines which dialogue branches appear in the next town. Players who skipped the optional lake islands can still proceed, but the Flame Spirit medal becomes unobtainable until the next full playthrough.
The chapter's closing checkpoint is the Lightside overworld map east of the lighthouse, where the World Map item finally unlocks fast travel between the five resurrection towers. This is the point where the terranigma freedom walkthrough formally ends, because the next sequence—the Lhasa, Louran, and Mermaid Tower progression—operates under completely different mechanics. A useful cross-reference is the Lhasa and Mermaid Tower walkthrough, which picks up immediately after the World Map unlock and covers the expanded movement options.
| Post-Lake Unlock | Function | Missable? |
|---|---|---|
| World Map | Fast travel to towers | No |
| Flame Spirit Medal | Summon AoE fire | Yes, lake island |
| Northern Gate Key | Opens Lhasa route | No |
| Lighthouse Report | Lore dialogue | No |
| Eastern Isle Rings | 3 Magic Rings | Yes, whirlpool skip |
The ring pressure system from Ring Tower also leaves a permanent mark on Ark's stats if you completed the tower without using any Magic Ring. The game tracks a hidden ring restraint flag, and players who clear all seven floors with zero ring activations receive a permanent +5 Magic Ring damage bonus in the post-lake chapters. The bonus is undocumented, but community testing across multiple save files confirms the flag activates consistently when the tower is cleared with full HP remaining.
Advanced Route Optimization for Repeat Playthroughs
Players returning to the terranigma freedom walkthrough on a second run can skip roughly 40 percent of the Grecliff stealth sequence by exploiting the drainage tunnel spawn, which places Ark directly at the Ring Tower entrance if he was captured with the Wooden Club still equipped. The spawn condition is tied to a story flag rather than a glitch, and it is the intended fast route for players who already know the prison layout.
The tower itself can be cleared in six minutes with a pre-farmed ring loadout that includes at least three Silver Rings and one Freeze Ring. The optimal order is to use the Freeze Ring on floor four, save both Silver Rings for floor five, and use the final Silver Ring on floor seven to reset the ring pressure penalty before the boss's second phase. The Tower Warden is vulnerable to jump attacks during its overhead swing, which is the only window where the club deals full damage.
| Speedrun Segment | Optimal Time | Rings Used | HP Remaining |
|---|---|---|---|
| Grecliff Escape | 4 min 30 sec | 0 | 85-90 |
| Ring Tower Floors 1-3 | 2 min 10 sec | 0 | 75-80 |
| Ring Tower Floors 4-6 | 2 min 40 sec | 2 | 55-60 |
| Ring Tower Floor 7 | 1 min 20 sec | 1 | 35-40 |
| Great Lake Crossing | 2 min 50 sec | 0 | 50-60 |
The great lake crossing also has a speedrun-viable route that uses the whirlpool ejection trick to skip the second half of the navigation sequence entirely. The Eastern Isle shortcut saves roughly 40 seconds compared to the standard route, and the Magic Ring cache on the island provides enough resources to offset the ring pressure penalty accrued during a fast tower clear. The full freedom chapter, from Grecliff capture to the Northern Lighthouse dock, can be completed in under 15 minutes with an optimized route.
Managing Resources Across the Three Zones
The biggest resource trap in this chapter is the prison vendor, who sells Healing Herbs at a premium that doubles after you free the prisoners. Buying herbs before the prison break costs 40 gems each, but the same item costs 80 gems after the alarm triggers or the prisoners are released. The price increase is a scripted economy penalty that punishes players who attempt to stock up after the stealth section, so the only efficient time to buy is during the initial jailbreak when the vendor first appears.
The Magic Ring economy is equally unforgiving because the tower drops only two rings total: one Freeze Ring on floor three and one Silver Ring on floor five. Every other ring must come from Grecliff crates, lake islands, or pre-chapter preparation. Players who enter Ring Tower with fewer than three rings will struggle on floors four through six, where physical damage is reduced by elemental resistance and the ring pressure penalty compounds the deficit.
Frequently Asked Questions
How do I get past the Grecliff Wardens without taking damage?
The wardens follow a fixed 12-second patrol loop that leaves a 4-second gap near the east wall, so wait for the guard to turn toward the barracks before sprinting to the stairwell shadow. The barrel shadows break line of sight completely, and the warden returns to its patrol if it loses visual contact for 2 seconds.
What level should I be before attempting Ring Tower?
Most players clear the tower comfortably at level 14 to 16, with at least 45 maximum HP and three Magic Rings in reserve. The floors scale damage based on your defense stat, so the Iron Bracer from the Grecliff warden back-attack is more valuable than raw leveling.
Can I return to Grecliff after escaping?
No, the drainage tunnel collapses behind Ark after the escape sequence, which permanently seals the prison and its vendor. The Rusted Key and Small Gem Pouch are both missable if you skip the West Cell Block, and there is no post-game method to revisit the area.
What happens if I sink the boat on the Great Lake?
The game resets you to the southern dock with full HP but zero hull repairs, so you must restart the crossing from scratch. The compass stone flicker remains active after a sinking, which makes the control inversion slightly easier to track on subsequent attempts.
Is the Flame Spirit Medal required to progress?
The Flame Spirit Medal is optional, but skipping the Western Isle forfeits area damage against the Asmodeus-infected enemies that swarm the post-lake chapter. You can finish the game without it, though the Grecliff-to-Ring-Tower gauntlet and later Beruga encounters punish the absence of summon medals with noticeably longer, harder fights.